Sorry for the delay in installment #3 in the series of how to write a WP7 app for HealthVault! The code for this application is now hosted on github.
In order for the Mood Tracker application to work with HealthVault we will get appropriate application creation credentials from the HealthVault Service and authorize them through the user with HealthVault Shell.
- To get the credential from HealthVault Service the application contacts the HealthVault service to get application creation Url.
The code for that is outlined in MyMood.xaml.cs
 <span class="kwrd">void</span> MainPage_Loaded(<span class="kwrd">object</span> sender, RoutedEventArgs e)
        {
            App.HealthVaultService.LoadSettings(SettingsFilename);
            App.HealthVaultService.BeginAuthenticationCheck(AuthenticationCompleted,
                DoShellAuthentication);
            SetProgressBarVisibility(<span class="kwrd">true</span>);
        }

<span class="kwrd">void</span> DoShellAuthentication(<span class="kwrd">object</span> sender, HealthVaultResponseEventArgs e)
        {
            SetProgressBarVisibility(<span class="kwrd">false</span>);

            App.HealthVaultService.SaveSettings(SettingsFilename);

            <span class="kwrd">string</span> url;

            <span class="kwrd">if</span> (_addingRecord)
            {
                url = App.HealthVaultService.GetUserAuthorizationUrl();
            }
...
- The application creation needs to be validated on behalf of the user.
The best mechanism to achieve this is by having a page with a hosted browser which redirect appropriately to HealthVault and closes the browsers and navigated back to page on a successful authorization.
Following is the code in HostedBrowserPage.xaml :
      <span class="kwrd">void</span> c_webBrowser_Navigated(<span class="kwrd">object</span> sender, System.Windows.Navigation.NavigationEventArgs e)
        {
            <span class="kwrd">if</span> (e.Uri.OriginalString.Contains(<span class="str">"target=AppAuthSuccess"</span>))
            {
                Uri pageUri = <span class="kwrd">new</span> Uri(<span class="str">"/MyMood.xaml"</span>, UriKind.RelativeOrAbsolute);

                Deployment.Current.Dispatcher.BeginInvoke(() =>
                {
                    NavigationService.Navigate(pageUri);
                });
            }
        }

        <span class="kwrd">void</span> HealthVaultWebPage_Loaded(<span class="kwrd">object</span> sender, RoutedEventArgs e)
        {
            <span class="kwrd">string</span> url = App.HealthVaultShellUrl;

            c_webBrowser.Navigate(<span class="kwrd">new</span> Uri(url));
        }
Note that on success the Application is being redirected to MyMood.xaml which is our landing page!
Here is flow of how the above authentication works!
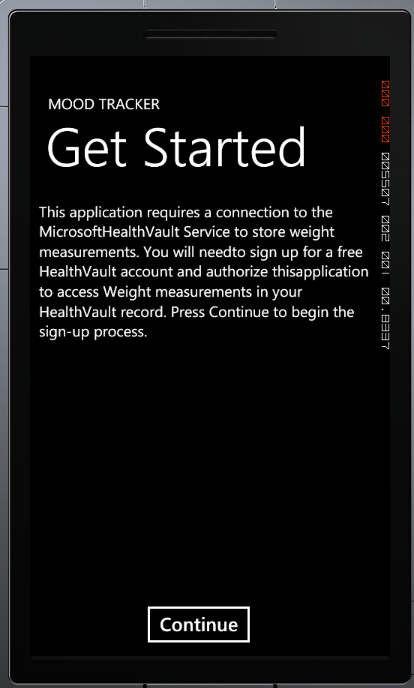
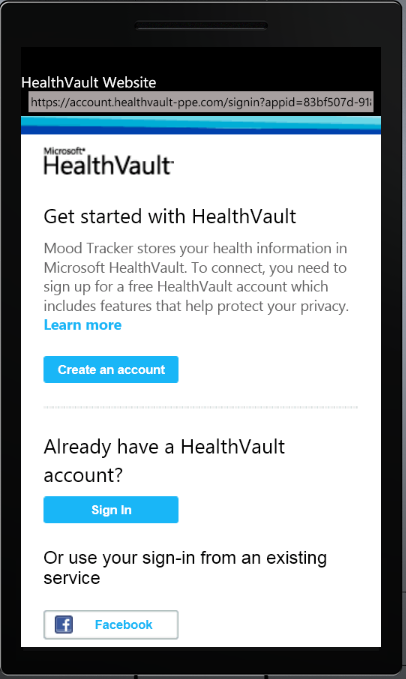
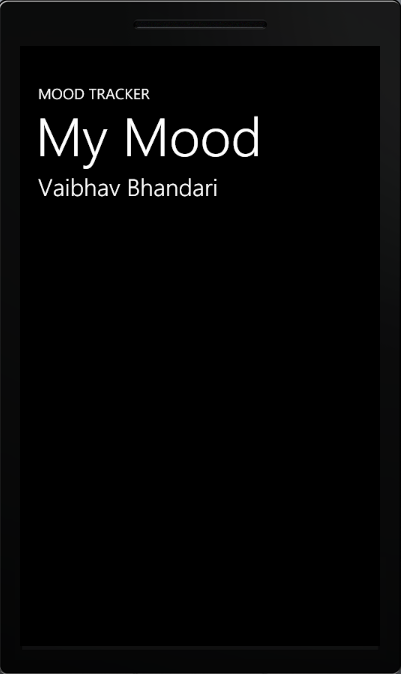
Step1. Home page Step2.Sign-in & Auth Step3. Mood track in action!
Next time: Adding the emotional state data type to Mood Tracker
Previous Post: Getting Started
.csharpcode, .csharpcode pre { font-size: small; color: black; font-family: consolas, “Courier New”, courier, monospace; background-color: #ffffff; /white-space: pre;/ } .csharpcode pre { margin: 0em; } .csharpcode .rem { color: #008000; } .csharpcode .kwrd { color: #0000ff; } .csharpcode .str { color: #006080; } .csharpcode .op { color: #0000c0; } .csharpcode .preproc { color: #cc6633; } .csharpcode .asp { background-color: #ffff00; } .csharpcode .html { color: #800000; } .csharpcode .attr { color: #ff0000; } .csharpcode .alt { background-color: #f4f4f4; width: 100%; margin: 0em; } .csharpcode .lnum { color: #606060; }